Photon Sound Beam Integration
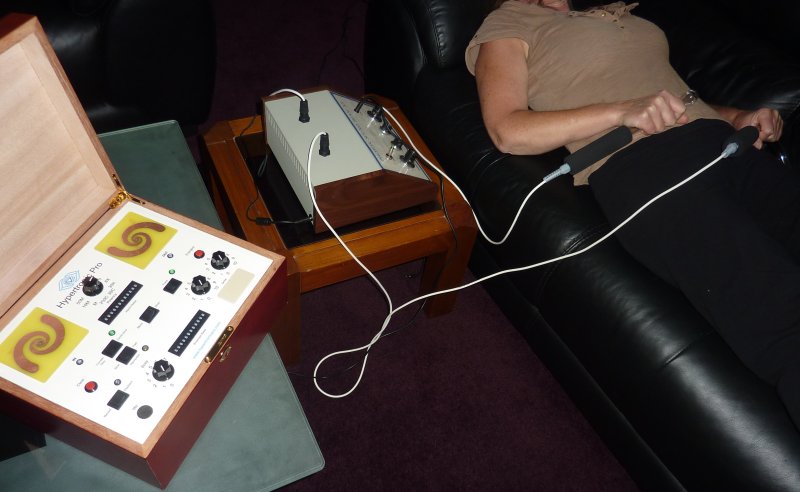
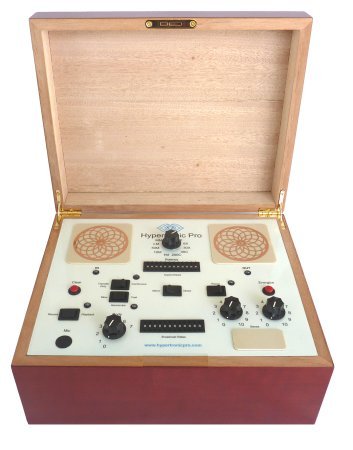
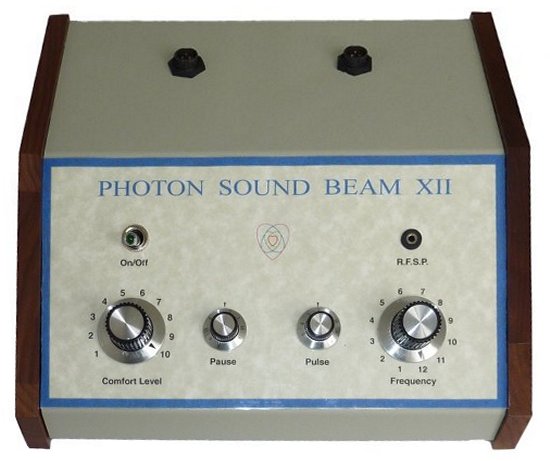 The Hypertronic Pro can be used completely independently by itself, or synergistically for enhanced results with the Photon Sound Beam. There is a specially designed port in the Hypertronic Pro which allows the RFSP port on the Photon Sound Beam to directly connect to the Hypertronic Pro. This can be used for the following options;
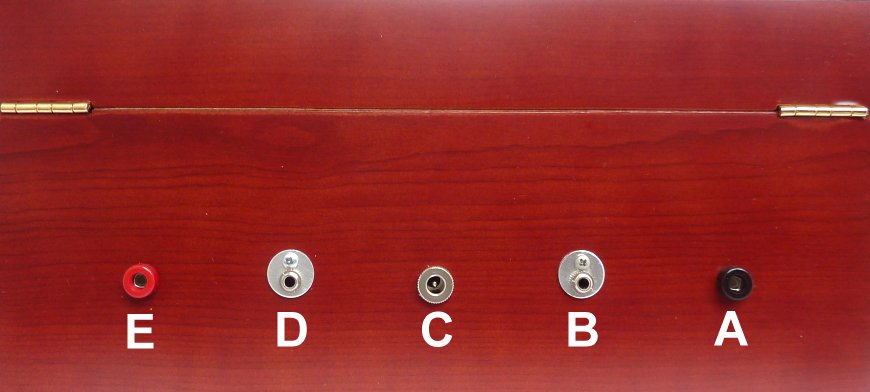
- Allow the Hypertronic Pro to broadcast Photon Sound Beam frequencies (e.g., the general sweep on the level 12 setting for 30 mins) to any patient (with their permission) using their biological sample, voiceprint or picture worldwide. For this option connect the 3.5mm male to male cable from the RFSP port on the Photon Sound Beam to the port labelled B below.
- When using the Photon Sound Beam for a therapy session, allows the Hypertronic Pro to send inverse mirrored energies back to the Photon Sound Beam for inclusion in the hand held plasma tubes when using Mirror mode. Alternatively you can send any frequency created by the Hypertronic Pro using the Direct mode. For this option connect the 3.5mm male to male cable from the RFSP port on the Photon Sound Beam to the port labelled D below.
Procedure
Warning: Ensure that both the Hypertronic Pro and the Photon Sound Beam are switched off when connecting the 2 units using a 3.5mm male to male lead. Having both machines switched off is important when connecting the lead, which could otherwise lead to damaging a transistor in the Photon Sound Beam.
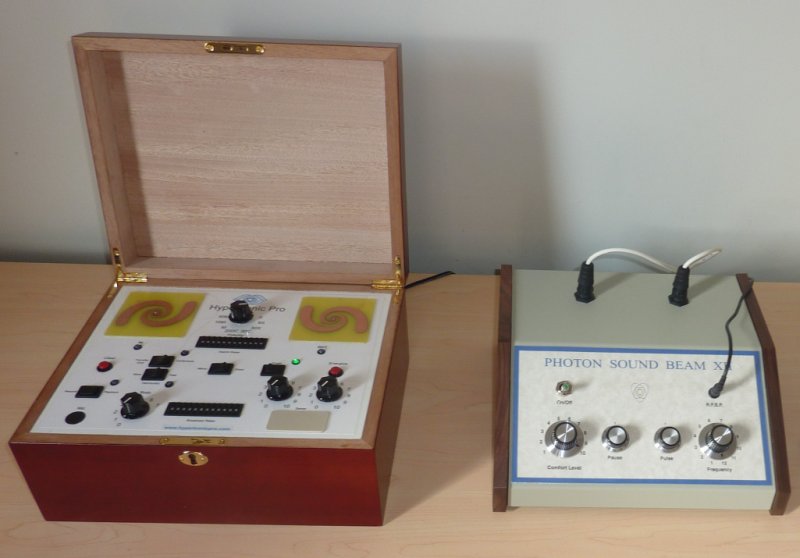
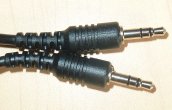 Use port B for frequencies going from Photon Sound Beam to Hypertronic Pro, or use port D to feed frequencies from the Hypertronic Pro back to the Photon Sound Beam plasma tubes to be included in the Photon Sound Beam therapy session. Use the 3.5 mm male to male cable that comes with Hypertronic Pro, shown in the picture to the right.
- Once both units are connected, switch on the Hypertronic Pro and wait until the clearing procedure has completed (approx 20 seconds).
- If you are wishing to broadcast the frequencies of the Photon Sound Beam, then use the biological sample of the patient that will be receiving the frequencies from the Photon Sound Beam.
- If you are adding frequencies to the Photon Sound Beam set the Harmonics to Neutral (central position), select Continuous, Direct and dial your frequencies into Imprint and Broadcast Rates as appropriate.
- Select the programme on the Photon Sound Beam (e.g., setting 12 for a general sweep).
- Push Energize on Hypertronic Pro and then turn on the Photon Sound Beam. Ensure that you switch the Photon Sond Beam off at the end of the cycle followed by the Hypertronic Pro.
